The Petronas Twin Towers are among the most photographed buildings in the world, and for good reason — their symmetrical twin forms, Islamic geometric detailing, and dramatic height produce compelling images from almost any angle or distance. Whether you are shooting with a professional DSLR or the latest smartphone, this guide will help you capture the towers at their most photogenic.
Golden-hour light transforms the stainless-steel cladding into a warm amber glow — a photographer's dream.
Best Times of Day for Photos
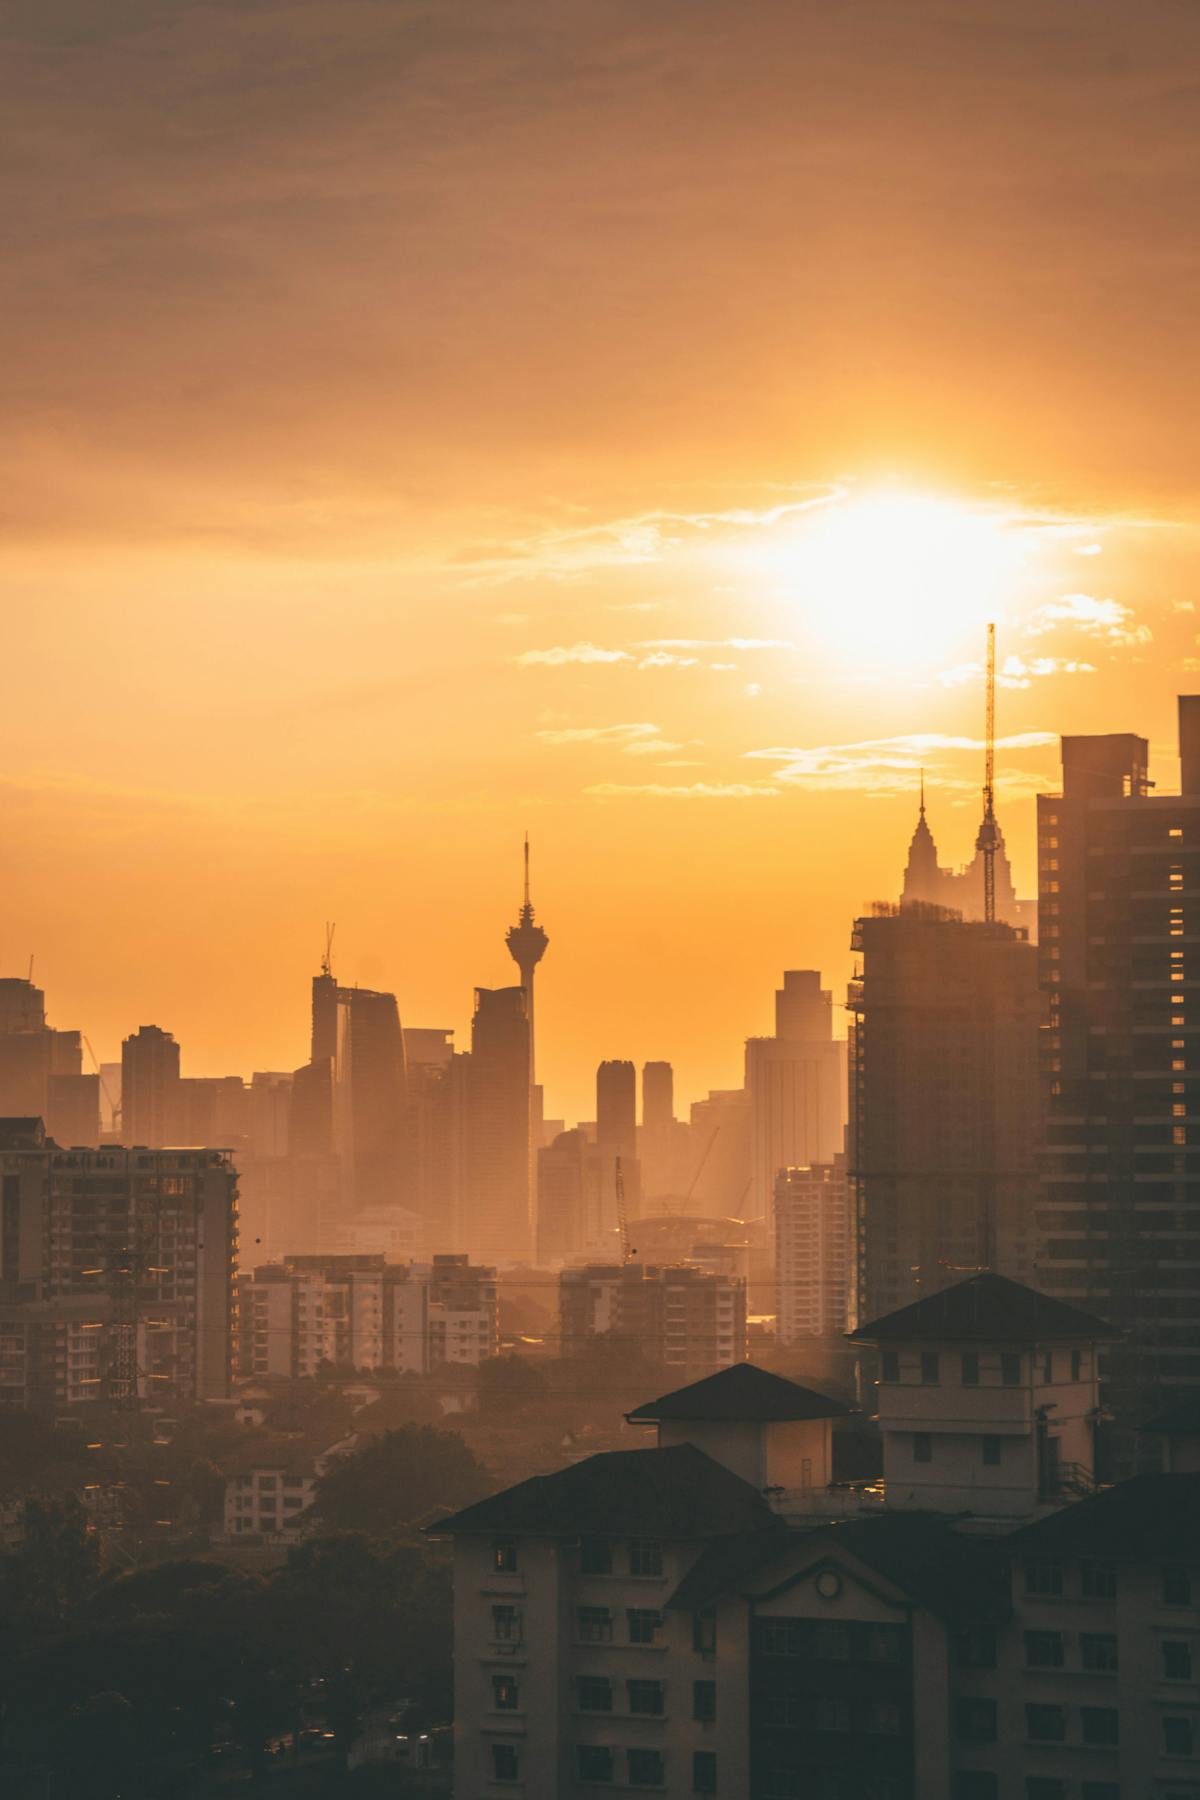
Sunrise (6:30–7:30 AM): The towers face roughly north-south, meaning the east-facing sides catch the first light of day. Sunrise shots from the east — particularly from Jalan Ampang or the KLCC East pedestrian areas — produce a dramatic side-lit effect with long shadows and warm colour temperatures. The park is nearly empty at this hour, making it ideal for clean, people-free compositions.
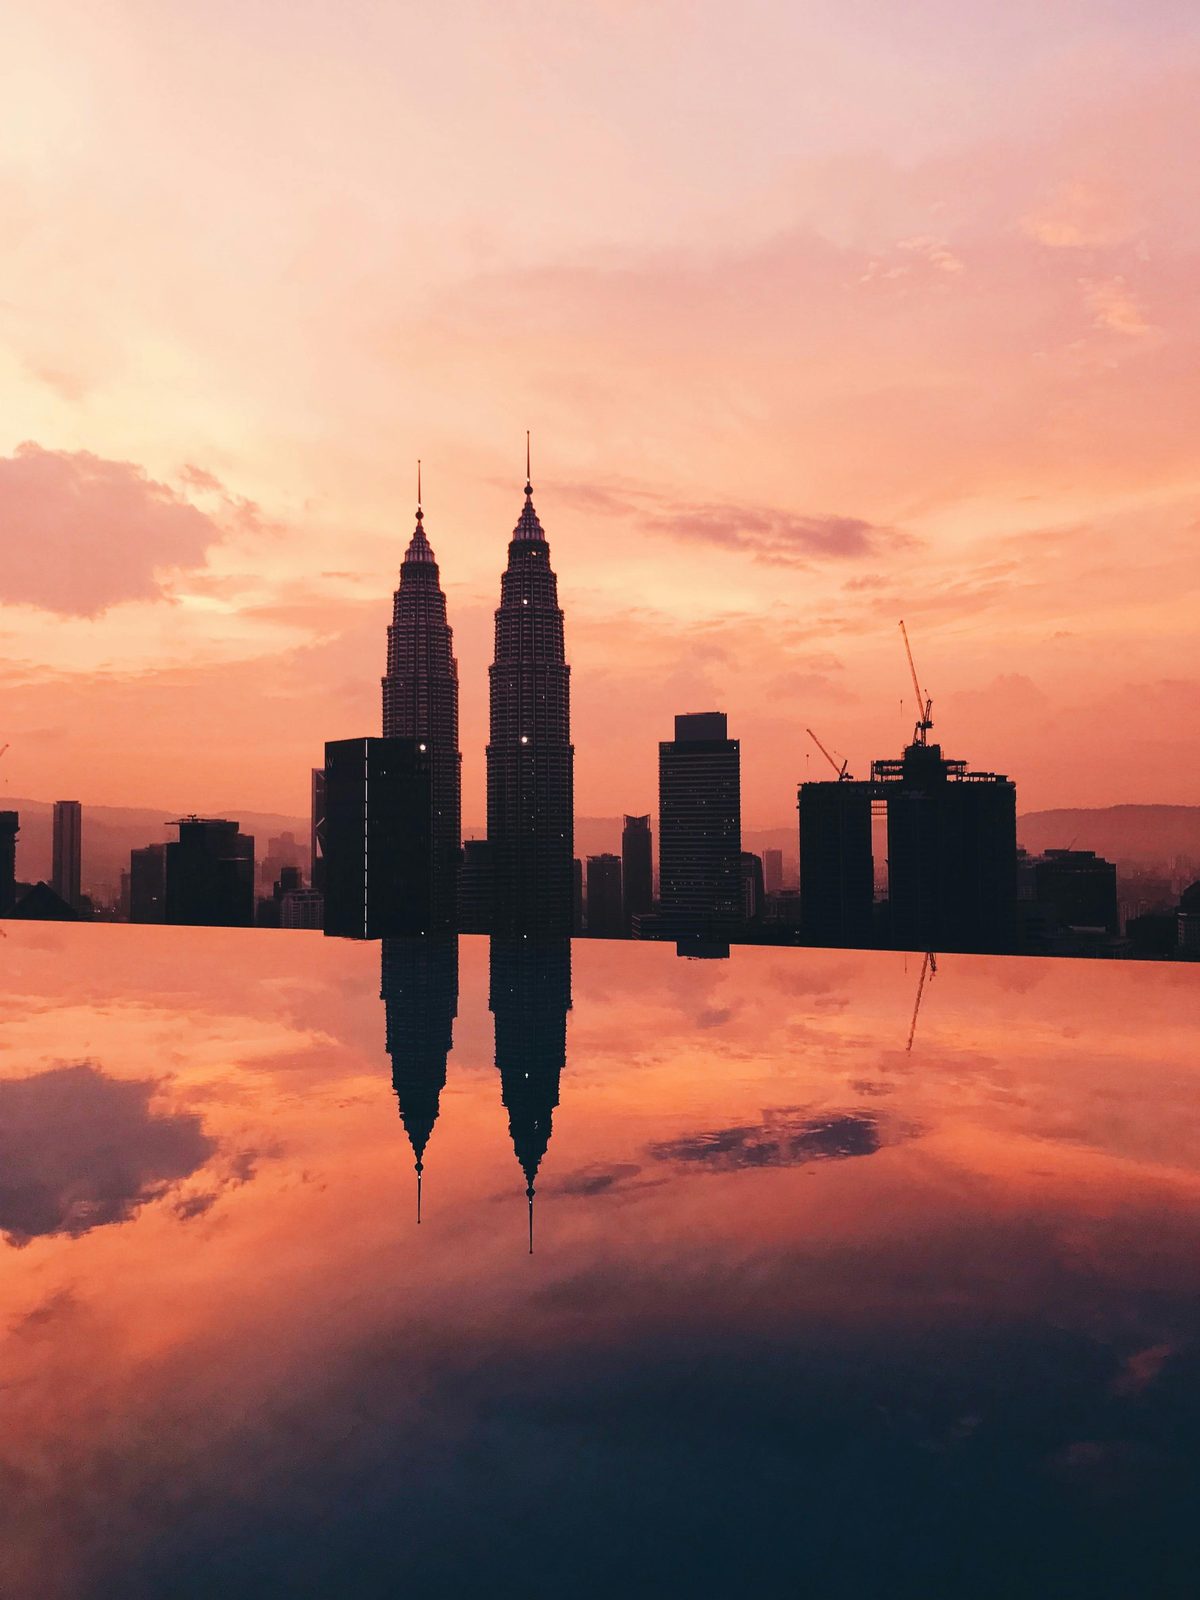
Golden hour (6:45–7:15 PM): The setting sun bathes the western facades in rich amber tones. Shoot from the west side of KLCC Park or from Jalan P. Ramlee for the most vivid results. This is also the perfect window for reflection shots in Symphony Lake, as the water is typically calm and the low sun angle maximises the mirror effect.
Blue hour (7:20–7:50 PM): As described in our Night Views article, the 20–30 minutes after sunset offer the richest combination of artificial tower lighting and residual sky colour. This is when most of the iconic postcard images of the towers are captured.
Night (8:00 PM onward): Full darkness emphasises the towers' lighting system and eliminates distracting background elements. The Lake Symphony fountain shows (8:00, 8:30, 9:00 PM) add a dynamic foreground element. Use long exposures to render the water jets as smooth, glowing streaks.
Top Photography Locations
KLCC Park — Southern Lake Promenade: The quintessential shot: both towers reflected in Symphony Lake, symmetrically framed. Best at blue hour or during the fountain show. Use a 16–24 mm wide-angle lens to capture both towers and their reflections in a single frame.
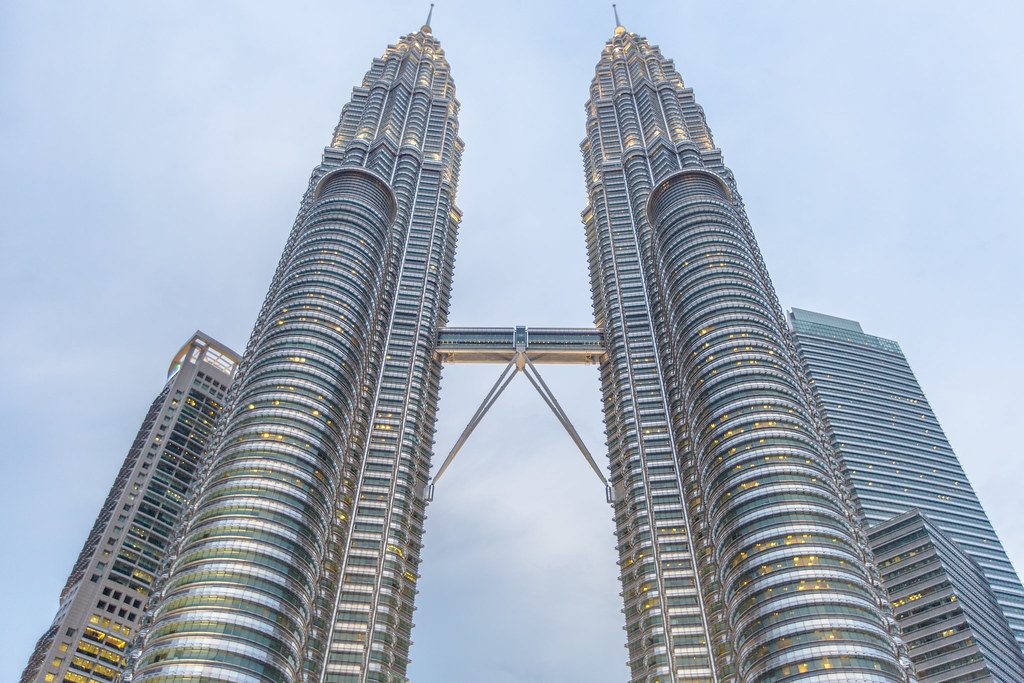
Jalan Ampang Pedestrian Bridge: A close-up viewpoint looking up at the eastern facades. The steep perspective creates a dramatic sense of height and converging vertical lines. Best at sunrise or midday when the east faces are fully lit.
A telephoto lens isolates the pinnacles against a dramatic sunset sky — patience with weather pays off.
SkyBar at Traders Hotel: An elevated viewpoint from the 33rd floor, ideal for shooting the upper sections of the towers with the city stretching behind them. Best at sunset and blue hour. Reservations recommended.
KL Tower Observation Deck: At 421 metres, the KL Tower offers a panoramic vantage that includes the Petronas Towers in context with the wider skyline. Use a 70–200 mm zoom to fill the frame with the twin towers against the city below.
Saloma Link Bridge: A newer viewpoint from the east, this illuminated pedestrian bridge offers a mid-range perspective and works particularly well for night shots that include its own colourful LED structure in the foreground.
Recommended Camera Settings
For daytime photography, start with ISO 100, aperture f/8–f/11 (the sweet spot for most lenses), and let shutter speed adjust to exposure. Use a circular polarising filter to deepen the sky and reduce reflections on the glass facades. For handheld shooting, keep shutter speed above 1/125 second to avoid camera shake.
For night photography on a tripod, use ISO 100–400, f/8, and a shutter speed of 2–8 seconds depending on the scene brightness. A remote shutter release or the camera's built-in timer eliminates vibration. Bracket your exposures (±1 EV) and blend in post-processing for maximum dynamic range.
Using natural frames — trees, archways, adjacent buildings — adds depth and context to tower photos.
Composition Tips
- Symmetry: The twin-tower form practically begs for symmetrical compositions. Place the sky bridge dead centre and align both pinnacles with the top third of the frame.
- Leading lines: Use park pathways, roads, or the lake's edge to draw the viewer's eye toward the towers.
- Natural frames: Shoot through palm fronds, park archways, or between adjacent buildings to add depth and context.
- Human scale: Including a person in the foreground — perhaps silhouetted against the towers — conveys the staggering height difference.
- Reflections: Symphony Lake, rain puddles, and glass building facades all offer reflection opportunities that double the visual impact.
- Verticals: When shooting upward from close range, embrace the converging verticals for a dramatic "looking-up" effect, or correct them in post-processing for an architectural-photography feel.
Equipment Recommendations
A wide-angle zoom (16–35 mm) and a mid-range telephoto (70–200 mm) together cover virtually every shot you might want. A sturdy tripod is essential for night work. A circular polariser improves daytime sky contrast. For smartphone users, the ultra-wide lens mode captures both towers from close range, while the telephoto mode isolates the pinnacles. A small clip-on phone tripod mount costs under RM 30 and dramatically improves night-shot sharpness.
Photography Checklist
Camera: Any DSLR, mirrorless, or modern smartphone · Lenses: Wide-angle (16–35 mm) + telephoto (70–200 mm) · Tripod: Essential for night/blue-hour shots · Filters: Circular polariser (day), ND filter optional (long exposures) · Settings cheat sheet: Day: ISO 100, f/8, auto shutter; Night: ISO 200, f/8, 2–4 sec on tripod · Apps: PhotoPills or The Photographer's Ephemeris for sun position planning